What it does
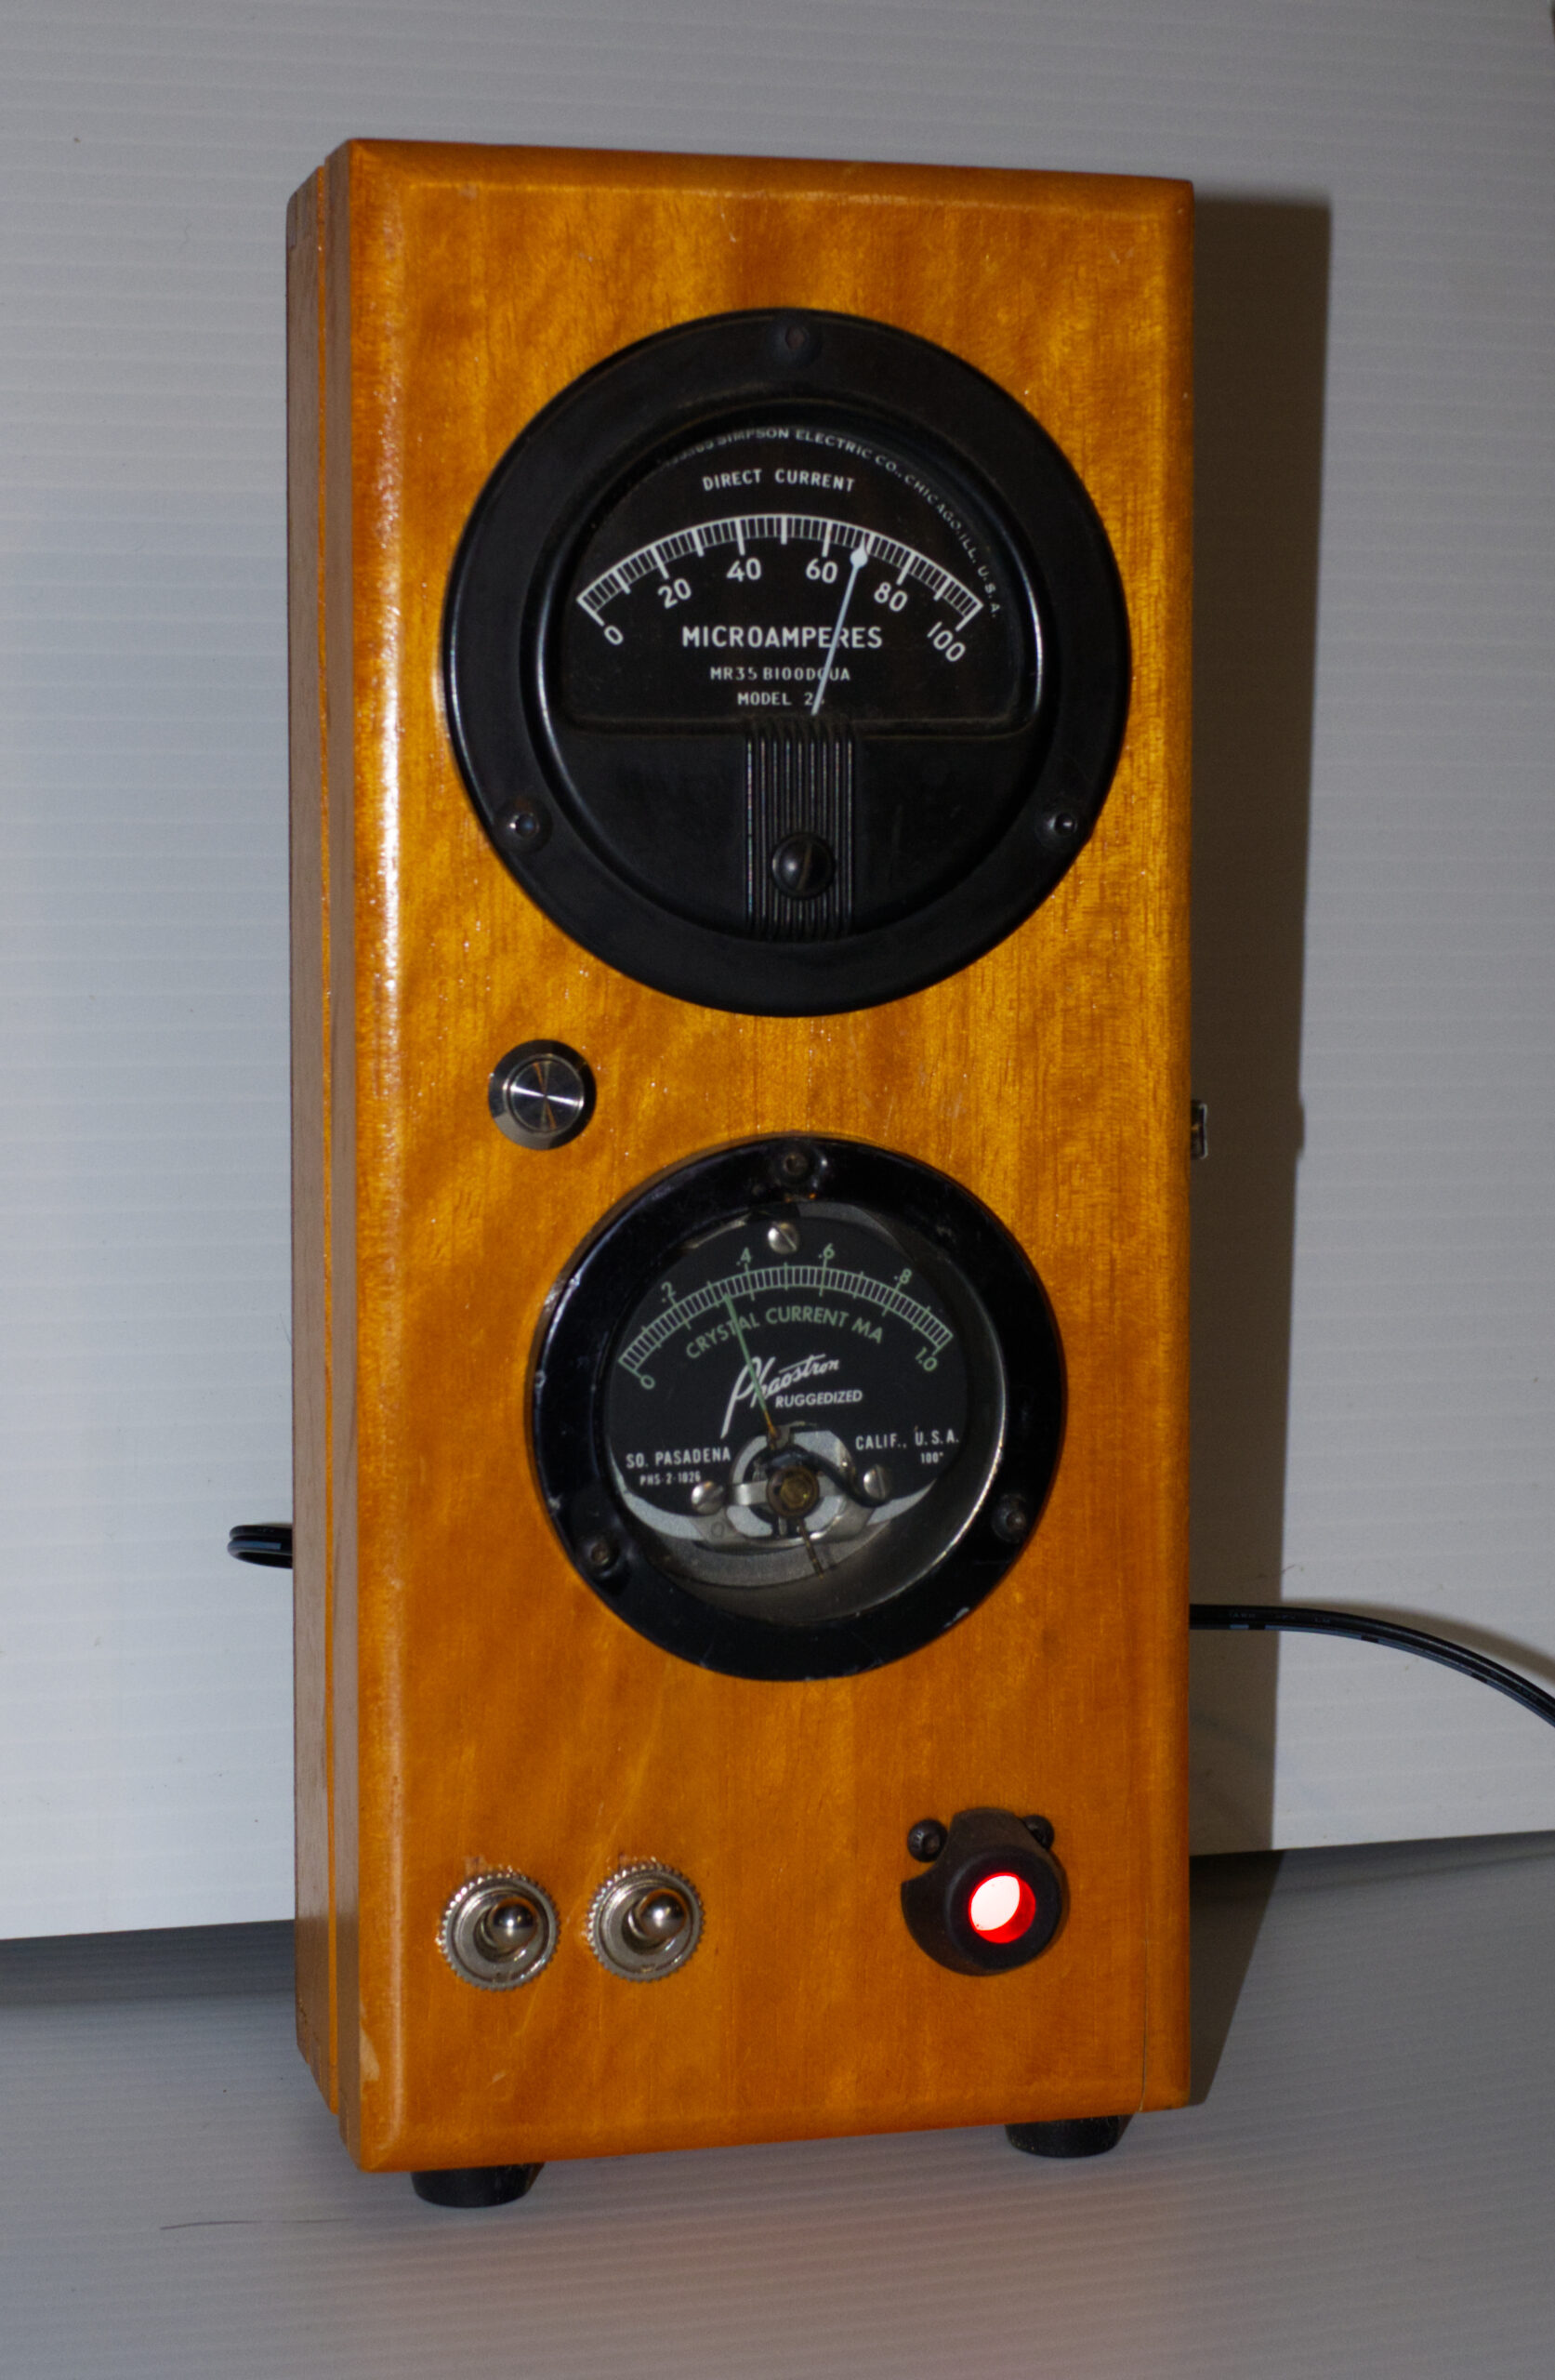
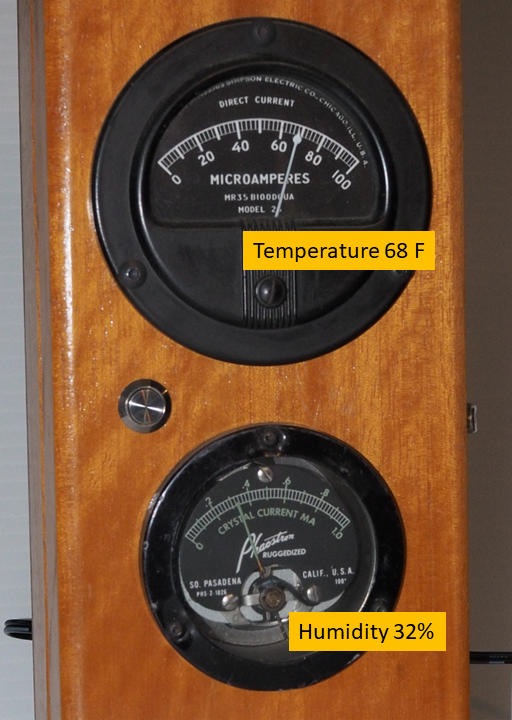
This gadget uses a sensor to measure the indoor temperature, humidity, and barometric pressure. The top (Simpson) meter either displays the temperature (in degrees Fahrenheit), or the last two digits of the barometric pressure (in inches of mercury). The bottom (Phaostron) meter displays either the relative humidity or the last two digits of the barometric pressure (in inches of mercury).
About the box
The box originally held an old X-Acto woodworking knife set. I refinished the wood, but the hardware is original.
About the Simpson meter
The Simpson Electric Company dates back to 1927, when its founder, Ray Simpson, built the earth inductor compass that Charles Lindberg used to navigate the Spirit of Saint Louis on his famous cross-Atlantic flight. The company was chartered in 1936, with manufacturing facilities in Chicago and Wisconsin. During the 1960s, Simpson created 14 different types of specialty meters for the Apollo program, used both in spacecraft and ground electronic systems. When the makers of the movie “Apollo 13” needed to accurately recreate ground control and training facilities, they contacted Simpson for guidance. Several original Simpson meters are featured in the film during crucial scenes. The Simpson Electric Company continues to manufacture panel meters and electronic test equipment.
Although it is difficult to determine the manufacturing date of the meter used in this gadget, it seems to resemble meters from the 1940s-1960s.
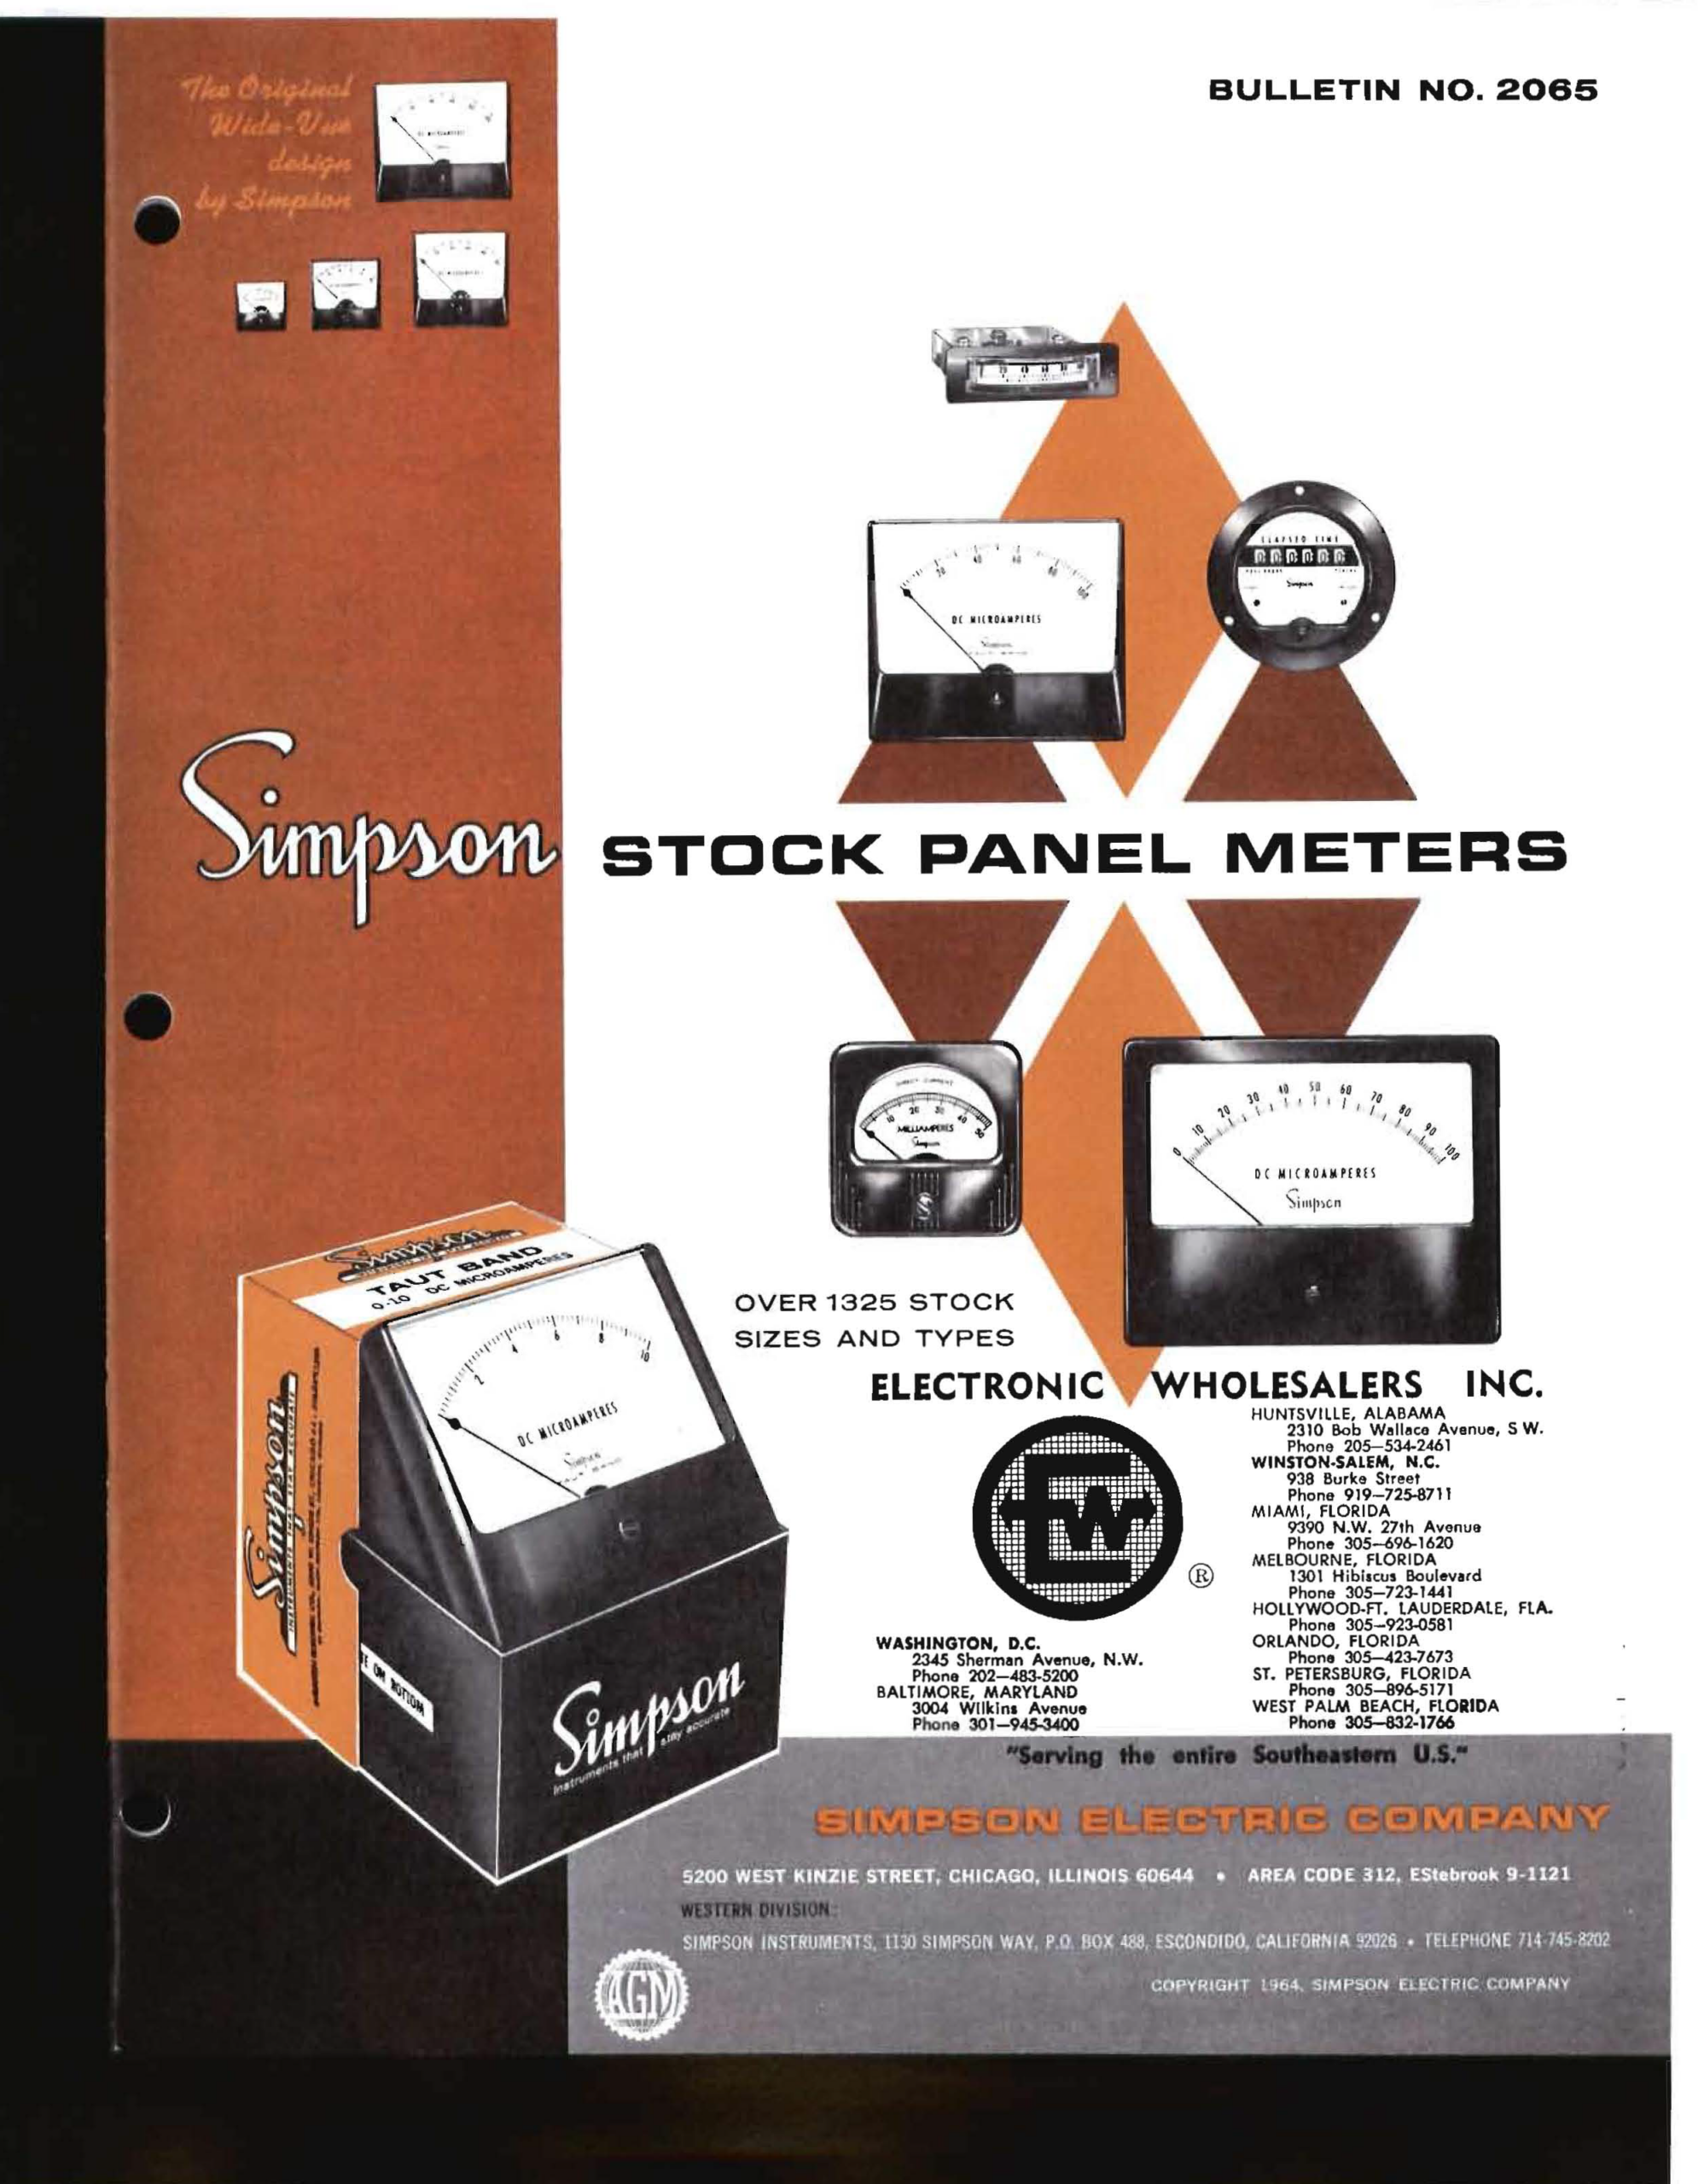
Cover of 1964 Simpson panel meter catalog
About the Phaostron meter
The Phaostron Company was founded in 1937, with manufacturing facilities in Pasadena, California. Its original product was a photographic exposure meter, which it manufactured through the 1940s. The company expanded rapidly, manufacturing precision meters for use in numerous electronic systems. Phaostron continues to manufacture precision meters and other instruments for use in aerospace, military, commercial aviation, and energy extraction industries.
The meter used in this gadget was probably manufactured during the early cold-war era, in the late 1940s or the 1950s.
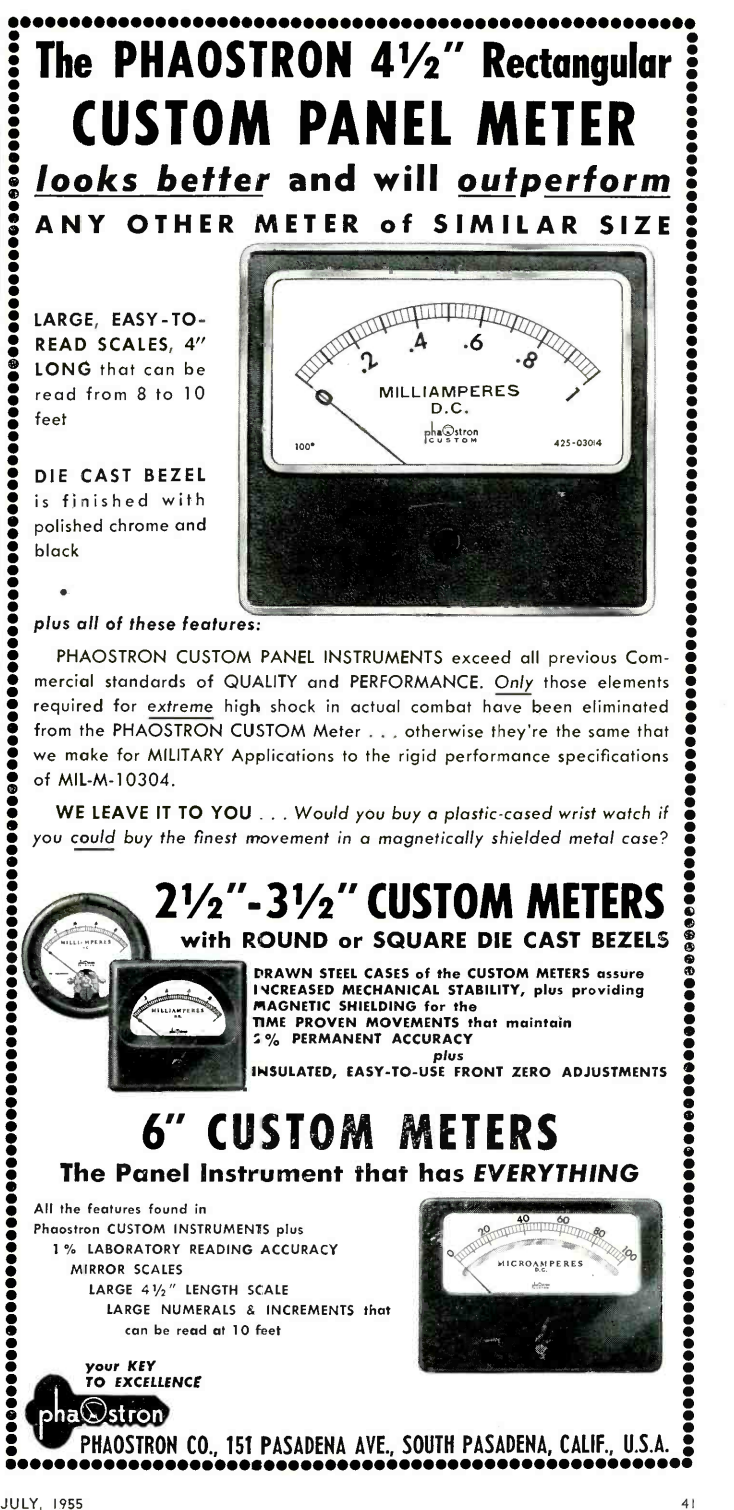
1955 Phaostron panel meter advertisement
How to use the gadget
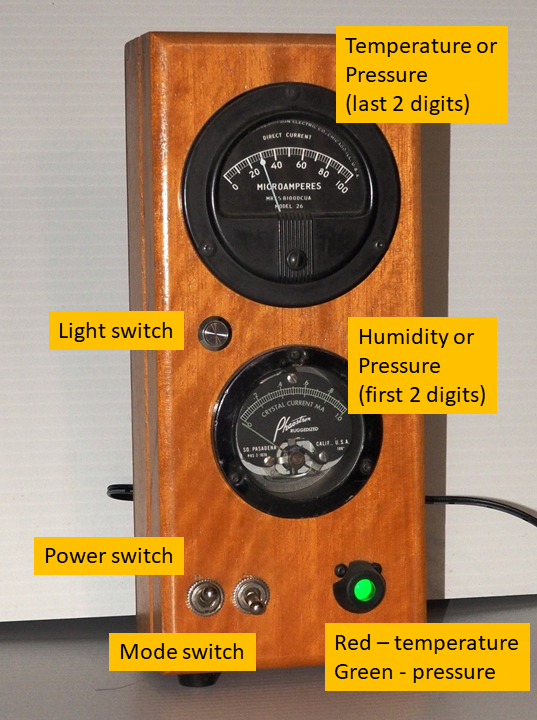
This gadget is straightforward to use. The power jack is located on the back. Start by connecting a 9V power supply to the power jack (see below). Energize the gadget by flipping the left toggle switch to “up”. The right toggle switch controls whether the meters show temperature and humidity (switch up), or barometric pressure (switch down). The panel light will display red for temperature/humidity, or green for pressure. You can turn the light off using the light switch, in case you find it irritating.
The sensor is located on the back of the unit, behind a hole. You can see the sensor through the hole. Be sure not to block the hole since the sensor needs access to the air surrounding the unit. If you’ve forgotten which meter displays the humidity, just breathe into the sensor hole. This raises the humidity quite a bit, without raising the temperature much. You will see the needle of the bottom meter go up towards 100%, and thus know that the bottom meter displays the humidity.

Sensor location and power cable socket
Care and feeding
You must power the gadget using a 9V DC power supply with a standard 2.1mm center-positive connector. Any supply with a current rating of 1A or higher should be fine (see picture). These power supplies are ubiquitous — just search for “9V arduino power supply” on Amazon or any other web commerce site and you will find numerous vendors. Just make sure the supply is 9V center-positive, or you will damage the controller. You can also find nice extension cords for these power supplies, as shown in the picture.
Clean the gadget as you would any appliance. You can use glass cleaner on the glass of the meters, but be careful! The glass on any one of these meters may be loose, and if you press too hard you may dislodge it.

Reading the meters
The top meter was designed to display current on a scale of 0-100 microamps. The bottom meter displays current from 0-1 milliamps. This makes it particularly easy to read the temperature and the humidity. I have calibrated the output of the controller so that the displays indicate either temperature in the range 0-100 degrees Fahrenheit, or relative humidity in the range 0-100%. In the example shown here, the reading is 68 degrees (top meter), and 32% (bottom meter). To read the bottom meter, merely multiply by 100. So, a full scale reading of 1.0 is 100%, while a reading of .2 is 20%. Note that the gradations for the top meter are 2 degrees, while those for the bottom meter are 2%.
Often during the summer months the temperature and humidity readings are very close. Read the instructions “How to use the Gadget” above for a technique to help remind you of which meter displays humidity.
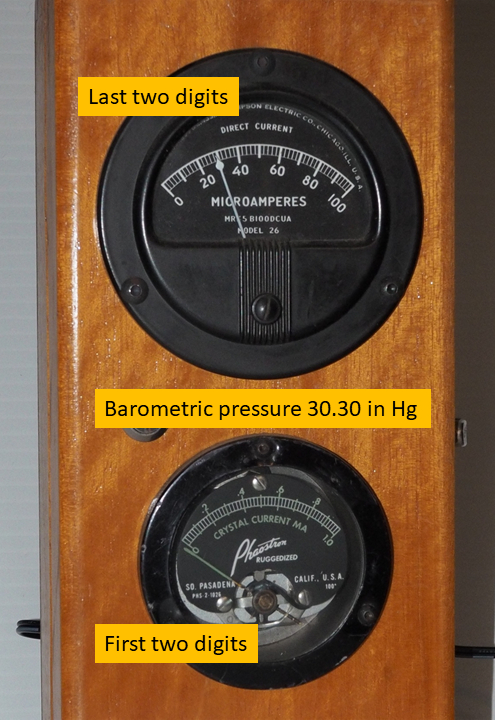
Reading the barometric pressure is a bit more complicated. When the toggle switch is in the pressure position, the top meter will show the second two digits of the pressure in inches of mercury, while the bottom meter will display the first two digits. I assume that the pressure lies between 25.00 and 32.99 inches. The first two digits are indicated using just the last of the two digits. For instance, if the pressure is 29.95 inches, the bottom meter will show “.9”. When the pressure is 30.27 inches, the bottom meter will show “0”. When the pressure is 31.36, the bottom meter will show “.1”. In any case, the top meter shows the second two digits. So, when the pressure is 30.27, the top meter will read “27”.
Readings for switch in temperature/humidity position
Accuracy
This gadget uses a high-precision Bosch BME280 combination sensor. Nevertheless, this is not a laboratory instrument, and you should not expect highly accurate readings. My guess is that the temperature should be good to about 2 degrees, the humidity to about 5%, and the pressure to about 0.05 inches of mercury over the expected indoor range of readings. See the section below on the gadget operation for more information about accuracy.
Longevity
The ages of the ammeters are hard to determine, but are probably between 60 and 80 years old. Some of the meters in my projects are more than 120 years old, and amazingly, they still work. Most old meters are very well constructed and were designed for continuous use over a long haul. I hope that these meters have many more years of useful service in them, but there’s no way to tell when they might crap out. If they stop working, at least they are still beautiful antiques worth displaying!
How the gadget works
The ambient temperature, relative humidity, and atmospheric pressure are measured using a Bosch BME280 high-precision temperature/humidity/pressure sensor, which is mounted on the rear wall of the box. The detector is placed against a hole to allow access to the surrounding air. The sensor has a manufacturer-rated accuracy of +/- 1 degree Fahrenheit, +/- 3% relative humidity, and +/- 0.05 inches of mercury. Readings are taken using an arduino nano and displayed on the meters using a simple resistor voltage divider against the internal resistances of the meters. The voltage is controlled using PWM on a digital pin. Older meters are often both nonlinear and out of calibration, so I calibrated the meter through its range by using a 4th-order polynomial to best-fit the measured temperature or humidity to displayed current. In practice, considering the accuracy of the sensor and the age of the meter, I would expect the displayed temperature to be accurate to about 2 degrees, the humidity to around 5%, and the pressure to 0.05. I would also expect that over time the performance of the meter will degrade and drift a bit. Even so, I wouldn’t be surprised if the more probable failure point is the solid-state arduino controller rather than the mechanical ammeters!